Monday, September 28, 2015

WANTED: 5th Gr Cowboys & Cowgirls


Another lesson inspired by the fabulous blog Deep Space Sparkle.  It's a twist on the classic self-portrait lesson.  Students are asked to transform themselves into cowboys and cowgirls, what fun! The first day began with developing some background knowledge and appreciation for Western culture.  Students agreed that each portrait needed to have some key features to be considered a cowboy or cowgirl.  Here's the list they generated:

  • Hat
  • Bandana
  • Vest
  • Lasso
  • Facial Hair
  • Braids

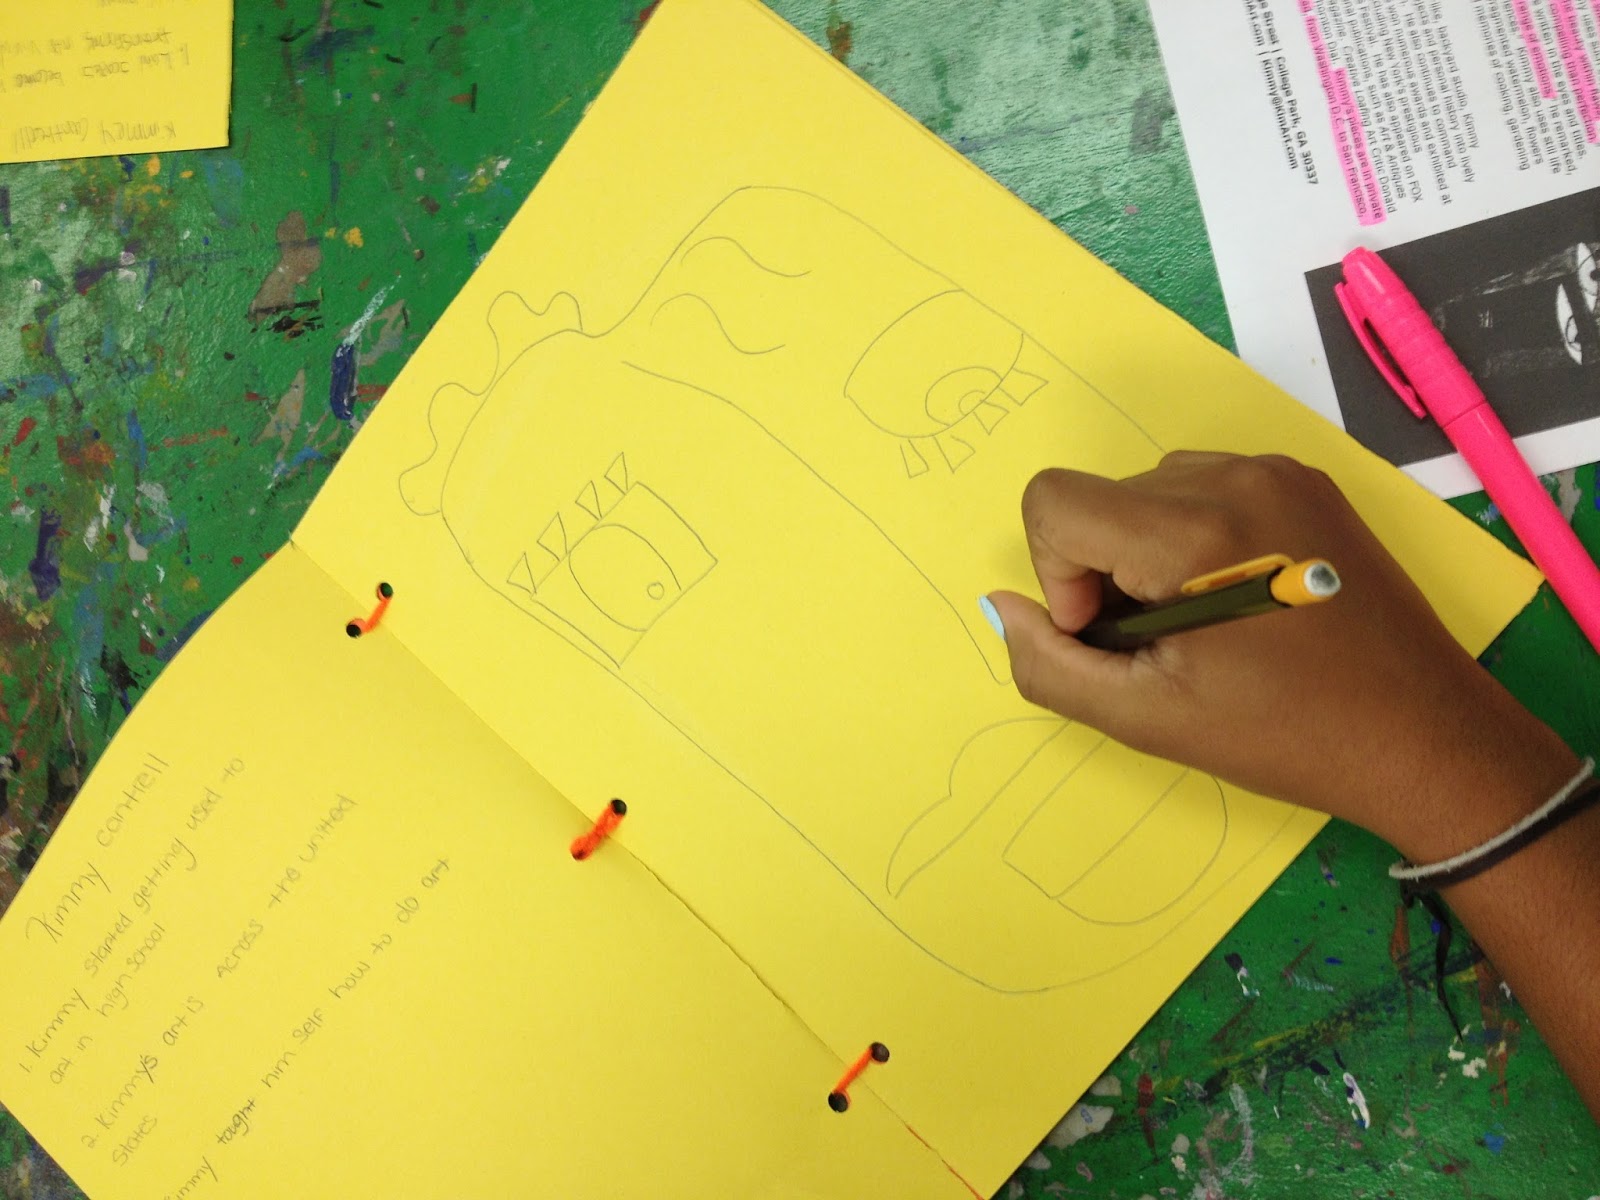
Next, came the sketching.  I showed students how to make a face by estimating the size of their palm for scale.  From their we added a hat, neck, bandana, shoulders, and all the details of the face and clothing.  Students then used their sketch to transfer their self-portraits to a larger version.  Once complete, we "aged" the paper by using diluted brown paint to either spray or smear across the paper. Students really enjoyed this process.


The next few lessons was devoted to painting the face, followed by hat and hair, then clothing.  Students mixed their skin tones using tan, brown and white. I then provided them with various colors for their clothing.


Klee Inspired Cats

Paul Klee

Swiss painter, Paul Klee, was best know for his Expressionist works of art.  His use of imagery and color truly strike a chord with children.  Blogger Deep Space Sparkle has some fabulous ideas on how to incorporate Paul Klee into the classroom.  Below is my take on Klee's Cat and Bird, painting and first grade artists.

Cat and Bird
Day one was reading Pete the Cat I Love My White Shoes by, Eric Litwin to the groups.  We discussed the special features of what makes a cat, a cat.  We needed to pay special attention to the ears, nose, eyes, and whiskers to make a cat realistic.  The class then looked at the Klee painting, Cat and Bird and admired his use of color and imagination.  Afterwards, we practiced drawing cats in our sketchbook before making a final draft on a larger piece of paper.


Day two was all about pastels and how to use them.  We worked in sections to make sure not too much smudging occurred and made sure to switch colors with every section.


I just love how these final cats came out!


Texture Apple Posters

Fall is in the air and what better way to celebrate the change of season then by making some apple stampin' art.  Students observed some different colored apples, green, red, and yellow, and noticed how some apples had streaking of multiple colors.  We then cut some apples in half and began stamping away.  

While the paintings were drying, we began to talk about texture and  how we can notice texture both by touch and with sight.  I gave the class some cardboard and we made a textured background for our project by rubbing the cardboard behind the paper.  Next, we took the same cardboard and ripped the to layer of paper off to create a texture of a basket and glued it down to the project to make a still life.


The next week it was time to put all the pieces together.  The apples needed to be cut and then assembled into the basket.  The final touch was stamping the word APPLE on the top to resemble a fruit box advertisement.  Aren't these pictures delicious!


Wednesday, September 23, 2015

Kimmy Cantrell Asymmetric Masks

Over the summer, I found inspiration from a fabulous blog: HandMakery.  She posted some amazing student work inspired by the artist, Kimmy Cantrell which I knew I wanted to incorporate into my lesson planning.  
Seventh grade students began the year with a study about the self-taught artist, Kimmy Cantrell. Cantrell is know for his asymmetric sculpture which focused on faces.  Students read about Cantrell in his printable bio followed by observing various artworks like the one below.  


We discussed the enlarged facial features, bold colors, and scrambled look to his work before giving it a try in our sketchbooks.


The next step, was to think about our use of color.  Students were asked to enhance their mask by adding expressive colors. 


Finally, the cardboard stage!  Students then transferred their design to cardboard.  I love how the corrugated textures enhance the look of these masks!

Bravo to work well done!!


Make Your Mark Mural

This school year started off with a community mural for all grades and abilities to contribute too.  I was inspired by this post on Art Rocks to get the process started.


Students started the project by listening to the classic art story, The Dot by, Peter Reynolds.  This was a great way for students understand how to put their "mark" on our group mural.  The rest was then up to them.  I left various colors of paint out for students to use and ask groups of 3-4 students to come up and contribute  to the mural by painting a dot or circle.  I can't wait to see the finished mural!


Isn't the finished product stunning!